Glebar was able to provide a zero defect fully automated no operator automotive cell, which is poised to run millions of parts per year – unattended.
Case Study: Steel Spring Cup (2 Parts Per Second Zero Defect)
Matt Danford | Glebar
Challenge
To design a fully automated turnkey feeding and inspection solution, integrated into to a Glebar GT-610 Thrufeed Grinder that ensures a one hundred percent defect-free product that is ground to a minimum 1.7 CpK and packaged hands-free.
Solution
Glebar engineers devised a series of pre- and post-grind inspection steps to ensure that the component (automotive metal spring cup that helps engine improve gas mileage) going into the Glebar GT-610 would meet the needed requirements to guarantee the quality of the final ground product of a single pass stock removal of .008" at a rate of 2 parts per second. Glebar was able to provide a zero defect fully automated no operator automotive cell, which is poised to run millions of parts per year – unattended.
PROCESS STEPS
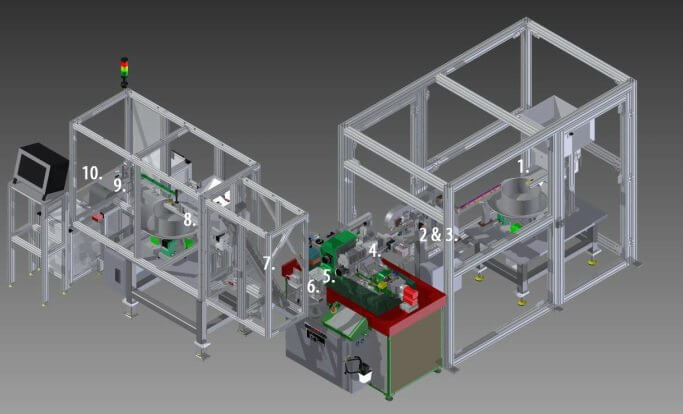
1. Vibratory Bowl Feeder:
The parts are loaded into the vibratory bowl unit and then are sent single file into a track feeding into the Precision Singulation System, which was developed to separate the incoming parts and inspect each part individually. This type of feeder is one of many Glebar features available for the versatile GT-610.
2. Precision Singulation System:
A precision singulation system was engineered and developed to separate the incoming parts and inspect each part individually at a rate of 2 parts per-second after exiting the vibratory bowl as a continuous row of parts.
 3. & 4. Presort Laser and Vision Inspection.
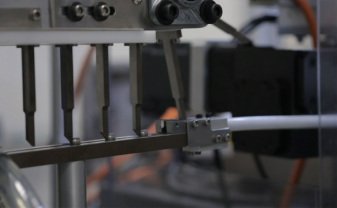
Parts pass through a non-contact three-plane laser gauge and inspects parts for ovality. Two cameras inspect each part for breaks or cracks prior to grinding. If parts are not the right shape or imperfections are found, they are removed from the track prior to entering the grinding area.
5. Centerless Grinding - Zero Defect:

The .25” diameter parts are then fed into the machine for centerless thrufeed grinding by a 10" diameter x work wheel.
Tests have shown that up to 20,000 parts were successfully ground before the wheel had to be redressed!

6. Cleaning:
The parts finish being ground and proceed to an air knife cleaning station where the debris is removed.
8. Step Feeder Conveyor:

After parts are laser gauged, they are pushed into to a step feeder conveyor traveling into a second vibratory bowl feeder.
9. & 10. Final Inspection and Packing
The parts feed into two Eddy current sensors to final inspect for cracks or voids. The good parts are then dropped into a complete box, ready for shipping and when full, stages the next box so the system can continue running unattended.
The content & opinions in this article are the author’s and do not necessarily represent the views of ManufacturingTomorrow
Comments (0)
This post does not have any comments. Be the first to leave a comment below.
Featured Product


